ubuntu工作环境初始化脚本
系列文章
- neo|vim高效编辑的基本配置
- 进化neovim到lin.nvim风味
- 我的Learn Lua in Y minutes
- (lin.)nvim启用Copilot补全
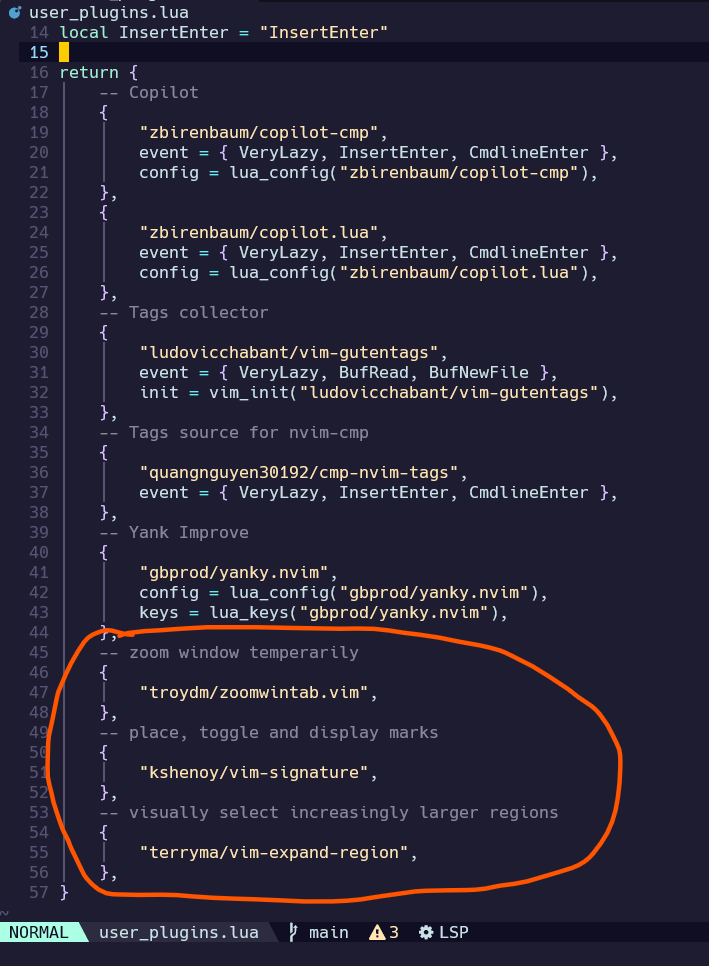
- lin.nvim中安装其它插件
- ubuntu工作环境初始化脚本
- 一款流畅的、用于重构代码的neovim插件:ChatGPT.nvim
- 填坑:(neo)vim中自动切换中文输入法
- lin.nvim中配置编程语言LSP补全
背景
最近又开了一个Ubuntu的云主机,需要在上面安装一些常用软件。想到以后还要经常重装Ubuntu系统,每次都重复地安装相同的软件环境,太枯燥了。于是决定趁着这次机会,把常用基础软件的安装写成脚本,一劳永逸。
需要安装的基础软件主要有以下若干:
rustdesk可以使用tcp、udp、rdp等协议进行远程桌面连接,其中rdp是最为高效的。但是,一般来说,rustdesk需要服务器进行中转。显然,这些中转服务器会带来一定的延迟。
另一方面,微软Windows系统自带的remote desktop(远程桌面)可以直接进行点对点的rdp协议连接,所以从道理上讲,remote desktop会比rustdesk更快一些。
也正是基于上述考虑,我放弃了安装rustdesk远程桌面,改为直接用基于rdp协议的远程桌面软件。
安装软件后,有一些例行公事的常用配置,现在做成备忘录清单:
- 修改系统root密码
- 开启防火墙ufw,以及相应端口
- 配置ssh
zsh的装配
- 安装zsh
- 安装oh-my-zsh
- 将本地配置上传云主机
1 | 安装软件 |
tmux的装配
1 | sudo apt install tmux |
为tmux建立配置文件~/.tmux.conf,配置内容如下:
1 | set-window-option -g xterm-keys on |
上述配置文件中,source ~/.vim/colors/tmuxconf.tomorrow20200427是对tmux进行美化的配置文件,可以在~/.vim/colors/tmuxconf.tomorrow20200427中写入下述tmux美化配置:
1 | This tmux statusbar config was created by tmuxline.vim |
nvim的装配
依次参见以下两篇我的博文:
由于我已经在本机配置好所有内容了,所以我可以直接把本地配置传到远端:
1 | 安装最新版nvim |
远程桌面环境
参见文章如何在 Ubuntu 22.04 LTS 上安装 Xrdp
安装原装的gnome桌面:sudo apt install vanilla-gnome-desktop --install-suggests。
安装xrdp,并启动服务:
1 | sudo apt install xrdp |
配置xrdp的文件权限、及其防火墙:
1 | sudo adduser xrdp ssl-cert |
注意:即使在ufw中开启了3389端口,我们还应该在腾讯云的“防火墙”中,明确的允许“Windows远程桌面”的规则(这是第一道大门)。
重启电脑。然后就可以用window系统自带的remote deskto实现远程访问了。
TimShift的装配
脚本代码如下:
1 | sudo add-apt-repository ppa:teejee2008/timeshift |
Elastic Stack
这个还是有点复杂的,“一键脚本”不方便,还是直接参考我自己的另一篇文章吧:安装 ElasticStack 全套件(2. 实验)